Small chips around the top edge of a racket are common when you are learning to play close to the glass, fence and floor. Fitting padel racket protector tape neatly gives the frame an extra sacrificial layer without making your racket look bulky or bodged. The trick is not strength; it is cleaning the surface, lining up the centre, and pressing the tape down in short, controlled sections.
Most beginner mistakes happen before the tape even touches the racket. If the frame is dusty, slightly damp, or still has old adhesive on it, the new strip will lift at the ends no matter how carefully you press it on.
The neat-fit version
For a tidy result, clean and dry the top edge of the racket, find the centre point at 12 o’clock, line up the middle of the tape there, and work outwards towards each side. Keep the tape under light tension, smooth from the centre to the edges, and avoid stretching it hard around curves.
- Fit it to a clean, dry racket at room temperature.
- Start at the top centre of the frame, not at one side.
- Press in short sections rather than trying to stick the whole strip at once.
- Trim only after you are happy with the position.
- Leave the racket alone for a while before playing so the adhesive can settle.
What protector tape actually does
Protector tape sits on the outer frame edge of the racket, usually across the top arc where scuffs are most likely. It is there to take light scrapes from the court surface, glass-side retrieves, bag knocks, and the occasional low pick-up where the frame brushes the ground.
It does not make a racket indestructible. A heavy clash, deep crack or hard impact can still damage the frame underneath. Think of the tape as a replaceable outer layer, rather than armour. It is useful for beginners because newer players often misjudge distance from the glass or floor while still developing control.
The material of your racket also matters. Carbon, fibreglass and foam constructions can feel different and may show wear differently, so it helps to understand the basics before adding accessories. If you want a clearer picture, read our explainer on carbon, fibreglass and foam in padel rackets.
Before you start: gather the right bits
You do not need a complicated kit. A calm setup is more useful than extra tools. Put the racket on a clean table, with a towel underneath so it does not slide or pick up grit while you work.
- Protector tape: use a strip intended for padel or racket frames, not rough household tape.
- Microfibre cloth: useful for removing dust without scratching the surface.
- Mild cleaning wipe or suitable alcohol wipe: only use something that is safe for the racket finish and avoid soaking the frame.
- Small scissors: for trimming the ends neatly once the tape is positioned.
- A soft card or your thumb: for smoothing bubbles out gently.
Check whether the tape is clear, black, textured or slightly weighted. Some protectors can subtly change the feel of the racket because they add material to the head. For most early-stage club players, neat fitting and secure adhesion matter more than chasing a specific feel.
Step 1: remove old tape properly
If your racket already has a worn strip fitted, peel it back slowly from one end. Do not yank it upwards. Keep the angle low and pull along the frame so the adhesive releases more evenly.
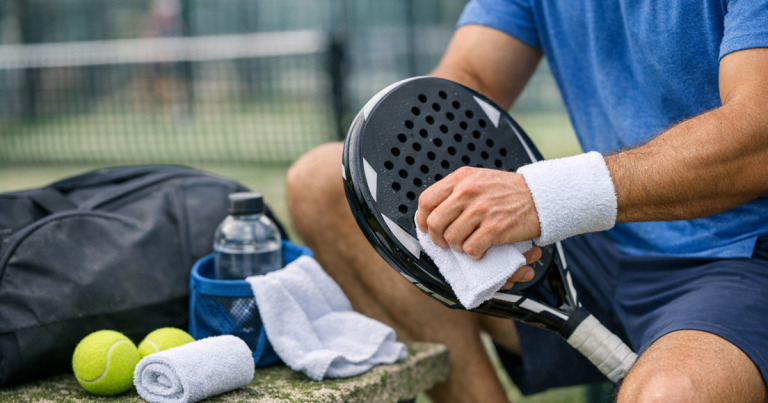
Once the strip is off, look for sticky residue. Rub it gently with a cloth and a small amount of suitable cleaner. Avoid scraping the frame with a blade or sharp edge. You are trying to clean the surface, not sand it down.
If the old tape has left marks, take your time. New tape fitted over lumps of adhesive will usually look uneven, and the raised patches can create air pockets.
Step 2: clean and dry the frame edge
Run your fingers lightly along the top edge of the racket. You are checking for dust, grit, loose paint flakes, old glue, and damp patches. Even a small amount of grime can stop the tape bonding cleanly.
Wipe the top arc from one shoulder of the racket to the other, then let it dry fully. Do not fit tape to a cold, wet racket straight after an outdoor session. If you have just come in from a damp court, give the racket time to reach room temperature and dry naturally.
Step 3: find the centre before peeling the backing
Hold the racket upright and identify the top centre point at 12 o’clock. Many players rush this bit and end up with the strip slightly off to one side. That does not usually ruin protection, but it can look messy and may leave one shoulder more exposed than the other.
Before removing any backing, place the tape loosely over the frame to judge length and position. If it is pre-cut, check that both ends will finish in similar places. If it is longer than needed, do not trim too early. It is easier to cut neatly once the tape is sitting correctly.
Step 4: stick the middle first
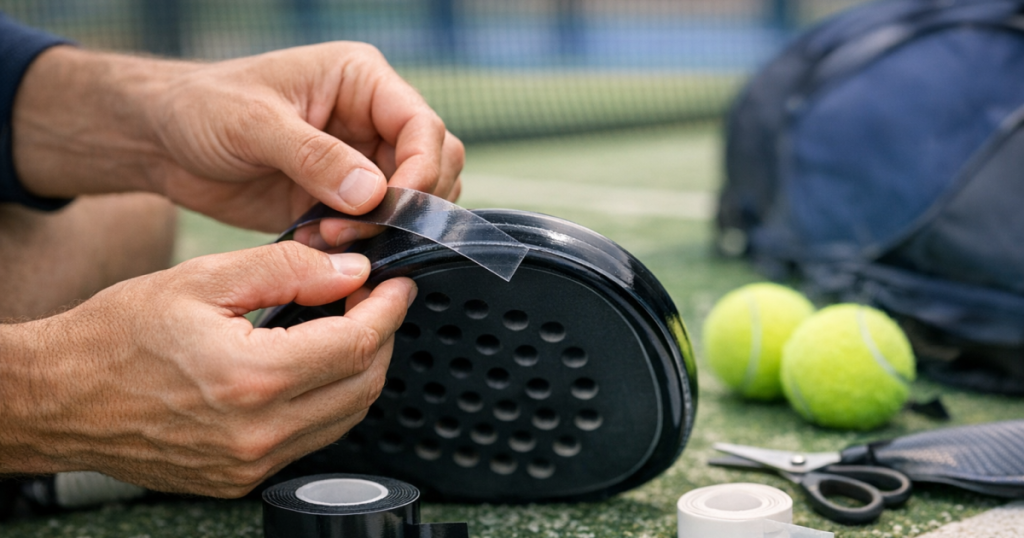
Peel back only a small section of the backing from the middle of the strip. Line this up with the centre of the racket’s top edge and press it down gently. The tape should sit on the outer rim, not creep too far onto the hitting face.
Once the centre is fixed, work towards one side in short sections. Peel a little backing, press, smooth, then repeat. Go slowly around the curve. Then return to the centre and do the same towards the other side.
This centre-out method is the simplest way to fit padel racket protector tape without pulling it crooked. It also reduces the chance of wrinkles because the tape is not fighting against the curve from one end to the other.
Step 5: smooth bubbles before they become creases
Small air bubbles are normal while fitting. Push them gently towards the nearest edge using your thumb or a soft card wrapped in cloth. Avoid using a hard plastic edge directly on the tape if it could mark the finish.
If you spot a crease forming, lift that small section back while the adhesive is still fresh, then re-lay it more slowly. Do not keep lifting and re-sticking the same area repeatedly, as the adhesive can weaken and pick up dust.
A neat finish is not about making the tape invisible. It is about even contact, no lifted edges, and no bulky folds where dirt can collect.
Step 6: trim the ends cleanly
When the strip is fully pressed down, check both ends. If they extend too far down the sides, trim them so they finish in a similar position on each shoulder of the racket. Rounded corners tend to lift less than sharp square corners, so a tiny curve on each cut can help.
Do not cut against the racket frame. Hold the loose end away from the surface and trim carefully. If the tape is already fully stuck and needs shortening, lift only the very end, trim it, then press it back down.
Step 7: give the adhesive time to settle
After fitting, press along the full length once more and leave the racket for a while before playing. Adhesive usually holds better once it has had time to settle on a clean, dry surface. Throwing the racket straight into a crowded bag can catch an edge before it has bonded properly.
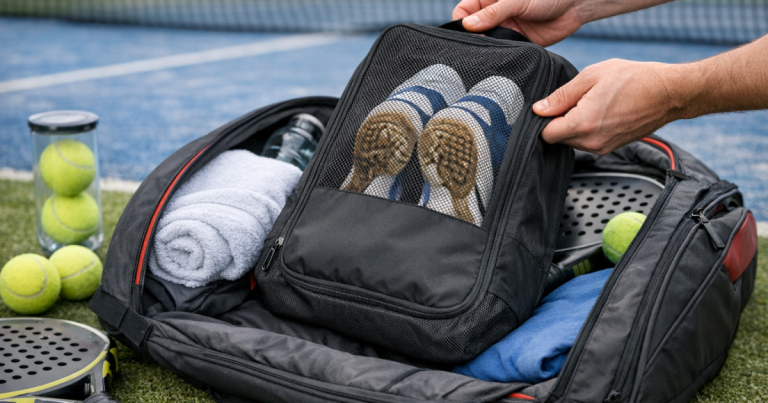
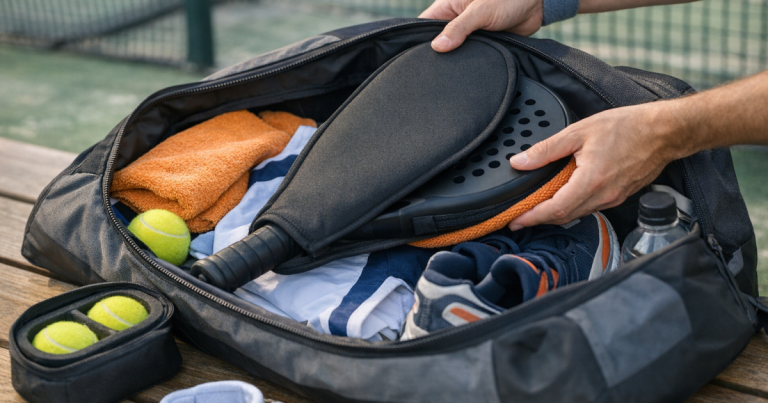
This is also a good moment to tidy the rest of your setup. Loose balls, grips, keys and accessories can knock against your frame in transit, so our guide to stopping loose accessories rattling in your padel bag is a useful next read.
Common mistakes that make tape look untidy
Most rough-looking tape jobs come from one of a few avoidable errors. The good news is that none of them require advanced racket knowledge to fix.
- Starting from one end: this makes it easier for the strip to drift off-centre as it follows the curve.
- Stretching the tape too hard: stretched tape often tries to shrink back later, which can lift the ends.
- Fitting over dust or old glue: the adhesive sticks to dirt instead of the racket.
- Covering too much of the face: protector tape belongs on the frame edge, not across the hitting area.
- Cutting before checking alignment: pre-cutting can leave one side short if the strip moves during fitting.
If the finished strip is badly wrinkled, very uneven, or already lifting, it is usually better to remove it and start again with a fresh piece. Trying to rescue a poor fit with extra layers rarely looks clean.
How it should feel once fitted
A tidy protector should feel smooth when you run a finger along the top edge. The ends should be flat, the tape should not flap when lightly rubbed, and there should be no gritty lumps underneath.
You might notice a small change in balance if the protector is thick or textured, because it adds material to the head of the racket. For many beginners, this difference is minor, but it is worth being aware of. If your racket suddenly feels awkward after fitting, check whether the tape is unusually heavy or whether you have added multiple layers.
Grip comfort also affects how secure the racket feels in hand. If you are refreshing accessories before playing more regularly, our Babolat Padel Overgrip review for beginners explains when a grip upgrade can make sense.
When to replace protector tape
Replace the tape when it is peeling, split, full of grit, or worn through where the frame regularly brushes the floor. A scuffed outer surface is not a problem; that is the tape doing its job. The warning sign is when the protection is no longer lying flat or the racket frame is exposed.
Check it after a few club sessions, especially if you play on sandier courts or often defend close to the glass. Dirt caught under a lifted edge can act like a small abrasive patch, so do not ignore peeling ends for too long.
Things readers ask
Can I fit protector tape to a new racket straight away?
Yes, as long as the frame is clean and dry. New rackets can still have dust, fingerprints or packaging residue on the edge, so wipe the surface before fitting.
Should protector tape go all the way around the racket?
Usually no. Most players protect the upper outer frame, where scrapes are most common. Wrapping the whole racket can add unnecessary bulk and may feel awkward.
Will protector tape damage the paint when removed?
It can lift weak or already damaged paint, especially if pulled off aggressively. Peel slowly at a low angle and clean residue gently rather than scraping.
Is clear tape better than black tape?
Clear tape is less noticeable, while black or textured tape can hide scuffs more easily. The better choice is the one that fits securely and suits the look of your racket.
Can I play immediately after fitting it?
You can, but it is better to let the adhesive settle first. If you play straight away, check the ends afterwards to make sure they have not lifted.
The big picture
Neat protector tape fitting is a small job that rewards patience. Clean the frame, start from the centre, smooth slowly, trim carefully, and give the adhesive time to settle. Done well, it keeps the most exposed part of your racket tidier for regular club play without making your setup feel complicated.