For beginner and early-stage players, Slinger Bag vs Spinfire Pro 2 is really a question about how you want to practise: simple repeated feeds, or a more adaptable training setup. Both can help you get more touches between club games, but neither is automatically useful unless it fits the court, the balls you use, and the drills you actually need.
Ball-launching equipment should be set up and used in line with the manufacturer’s instructions, venue rules and UK health and safety requirements. Supervised club sessions, junior use and group drills are typically managed by qualified coaching staff or court operators.
The short version
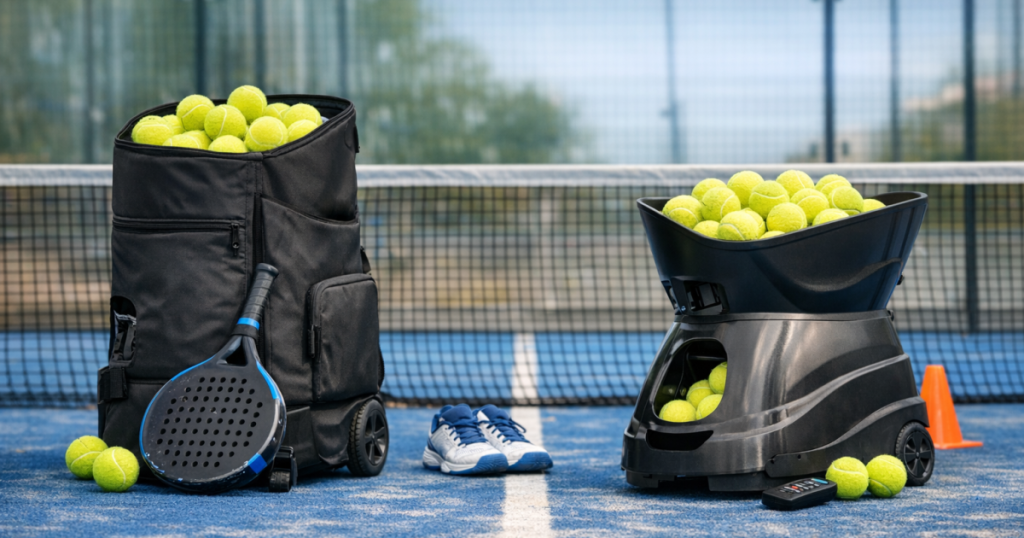
The Slinger Bag is the more straightforward idea: a portable launcher-style setup aimed at giving you repeatable feeds without turning practice into a technical project. It can suit beginners who want to groove basic shots, practise contact point and build rhythm.
The Spinfire Pro 2 is the more serious training-machine option. It is better suited to players, coaches or regular practice groups who want more variety in feeds and are willing to spend time setting up controlled drills. If you are already considering it, our detailed Spinfire Pro 2 solo drills review is a useful next read.
For most beginners, the better choice is not the most advanced machine. It is the one you will actually carry, set up, use safely, and repeat with enough consistency to improve.
How each option fits padel practice
Slinger Bag: simple repetition and rhythm
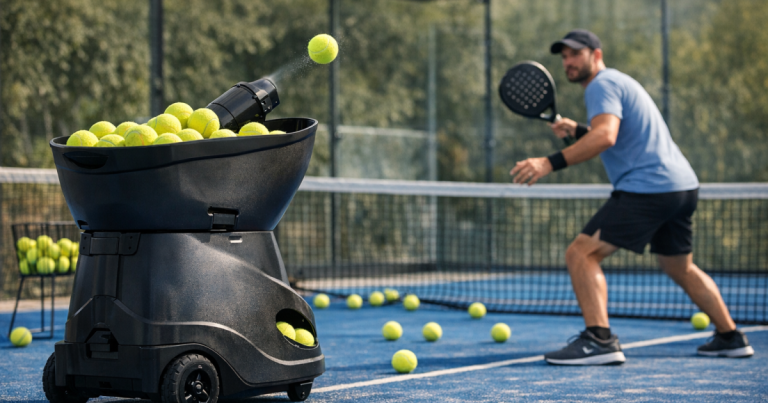
The Slinger Bag Tennis Ball Launcher is best thought of as a convenience tool for repeated feeds. Its appeal is that it can help you work on one shot at a time: forehand after forehand, backhand after backhand, or a steady volley pattern near the net.
That matters because beginner improvement often comes from removing chaos. In a normal game, the ball arrives at different heights, speeds and angles. A launcher lets you narrow the task: prepare earlier, move your feet, hit the same target, then reset. That kind of repetition can be very helpful when you are still building dependable technique.
The limitation is that padel is not only about hitting balls. It is about reading rebounds, using the glass, choosing when to attack, and moving with a partner. A simple launcher will not recreate a realistic point by itself, so it works best as a support tool rather than your whole training plan.
Spinfire Pro 2: more control, more responsibility
The Spinfire Pro 2 is aimed at players who want a more capable ball-machine experience. For padel drills, the main advantage is not just “more balls”; it is the ability to build sessions around controlled variation, such as changing direction, depth, height or tempo where the model and settings allow.
That can make it more useful for players who already know what they want to practise. For example, you might want to repeat defensive lobs, move between forehand and backhand volleys, or practise recovering after a bandeja-style overhead. The machine can keep feeding while you focus on footwork, balance and decision timing.
The trade-off is that more control also means more setup. You need to position it properly, test the feed, adjust the settings, collect balls, manage court time and stay aware of safety. If you only have short casual sessions, a more advanced machine can feel like extra admin unless you have a clear plan.
Beginner drill examples that actually make sense
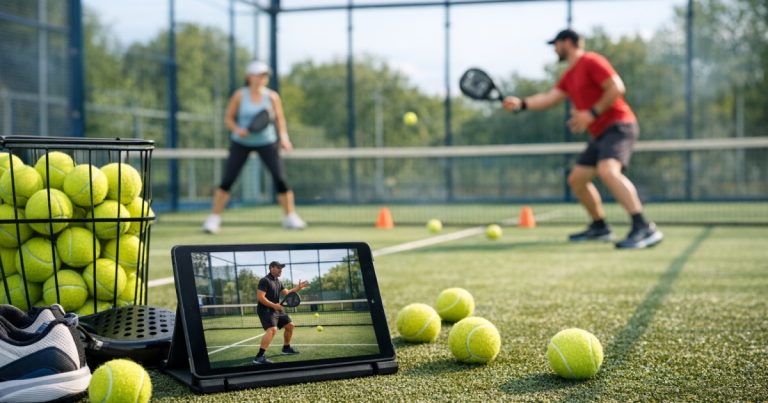
The best machine drills are short, repeatable and easy to measure. Avoid trying to recreate match chaos straight away. Start with one outcome, such as hitting ten controlled forehands cross-court, rather than “play better”.
Drills that suit a Slinger-style setup
- Forehand groove: feed to the same side and aim at a generous cross-court target. Focus on early preparation and finishing balanced.
- Backhand confidence: keep the feed comfortable and practise sending the ball deep without forcing pace.
- Static volley touch: stand near the service line or closer to the net depending on the feed, and practise a compact volley motion.
- Return rhythm: simulate a steady incoming ball and practise a controlled return rather than a big swing.
These drills suit beginners because they reduce decision-making. You are not trying to prove match fitness; you are building a repeatable swing and calmer contact.
Drills that suit a more adjustable machine
- Alternating forehand and backhand: use controlled variation to practise moving, setting your feet and recovering to the centre.
- Volley ladder: start with manageable feeds, then gradually adjust pace or placement once your technique holds up.
- Defence-to-attack pattern: practise a deeper defensive ball, recover, then move forward for a volley sequence if the feed pattern allows.
- Target zones: place cones or markers in safe areas and track how many controlled balls land in the intended zone.
Do not rush into high-speed feeds. Beginners usually improve faster by making clean, repeatable contact at a manageable pace than by chasing dramatic shots.
What to check before using either machine on a padel court
Before you book court time around any ball machine, check the practical details. These points matter more than spec-sheet excitement.
- Venue permission: not every padel venue allows personal ball machines, especially at busy times. Ask before bringing one.
- Ball compatibility: check the manufacturer’s guidance and your retailer’s advice on suitable balls. Padel balls and tennis balls are not always interchangeable for every setup.
- Court surface and movement: make sure the machine is stable and positioned where it will not obstruct play, gates or walkways.
- Feed realism: a useful feed is one you can repeat safely and learn from. It does not need to be fast to be effective.
- Transport: consider how far you need to carry it from car park to court, and whether stairs, narrow gates or wet weather will make that awkward.
- Noise and disruption: be considerate of adjacent courts and club rules, especially indoors or during peak sessions.
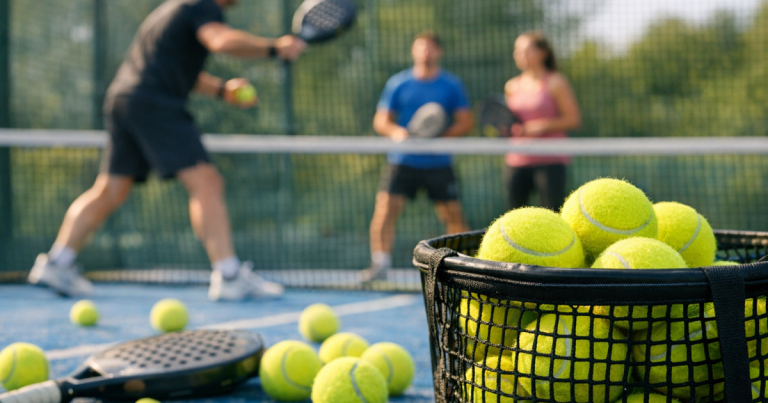
- Ball collection: factor in time to collect balls. A drill that looks efficient can lose momentum if you spend half the session gathering loose balls.
Footwork also matters. If you are moving repeatedly for feeds, wear court-appropriate footwear rather than running trainers. Our padel shoes guide explains soles, support and court safety in beginner-friendly terms.
Which one suits your stage of improvement?
If you are still learning the basics, choose the setup that helps you practise calmly. A simpler launcher can be enough if your main needs are contact point, consistency and confidence. You can run useful sessions without trying to create a full match simulation.
If you are playing regularly, taking lessons, or training with a small group, a more capable machine may make more sense. It gives you room to build varied drills and repeat specific situations. That said, it only pays off if you have the patience to plan sessions and the court access to use it properly.
For many UK beginners, court time is the limiting factor. If your local venue is busy, a machine that takes several minutes to position and test may not be ideal for a short booking. In that case, a simple feed plan, a basket of balls and a partner can sometimes deliver better value in actual practice time.
That is the key comparison: Slinger Bag vs Spinfire Pro 2 is not about which machine sounds more impressive. It is about whether you need easy repetition or structured variation.
A sensible 45-minute solo session
Here is a simple structure that works with either type of machine, provided the feed can be made safe and consistent.
- 5 minutes: warm up without the machine. Use light movement, short swings and gentle hitting if available.
- 10 minutes: one basic groundstroke. Keep the feed comfortable and aim for depth rather than power.
- 10 minutes: one net skill. Practise compact volleys, stable feet and controlled direction.
- 10 minutes: movement pattern. Alternate between two positions only if the machine and your level make that safe.
- 5 minutes: easy reset. Finish with slower feeds and a simple target so the session ends with control.
- 5 minutes: collect balls, clear the court and note what you will repeat next time.
Keep notes after each session. Write down one thing that improved and one thing to repeat. That stops machine practice becoming random hitting.
Where machine practice falls short
A ball machine cannot replace learning with other people. It will not punish a poor tactical decision in the same way a real opponent will, and it will not help you communicate with a partner. Padel is a social, tactical sport, so solo drills should support regular games rather than replace them.
If your biggest problem is not technique but finding consistent playing time, it may be smarter to find a padel partner for regular games before investing too much energy into solo training. A regular partner gives you live rallies, shared feedback and better match rhythm.
Common questions
Can you use a tennis ball machine for padel drills?
Sometimes, but you should check the manufacturer’s guidance, ball compatibility and venue rules first. Padel has different court dimensions, rebounds and ball behaviour, so a tennis-focused machine is not automatically ideal.
Is a ball machine useful for complete beginners?
Yes, if the feed is slow, safe and consistent. It is most useful for practising contact point, footwork and repeatable targets, not for copying full match situations.
Do I still need lessons if I use a launcher?
A launcher gives repetition, but it does not correct technique. A coach can help you choose the right drills and stop you repeating the same mistake for hundreds of balls.
How many balls do I need for a decent session?
You need enough to keep a drill flowing, but more is not always better. Short sets with regular resets are usually better for beginners than long, tiring feeds with poor technique.
Should I practise alone or with a partner?
Use solo practice for repetition and partner practice for timing, tactics and communication. The best improvement plan usually includes both.
Key takeaways
Choose the Slinger-style route if you want simple, repeatable feeds for basic technique work. Consider the Spinfire Pro 2 if you want more structured drills, greater variation and are ready to manage a more involved setup.
Whichever route you take, keep the session simple: one skill, one target, one clear improvement goal. For beginners, that approach will usually beat a complicated drill plan that looks clever but does not translate into better club play.
Quick Buying Links
Slinger Bag
For beginner and early-stage players, Slinger Bag vs Spinfire Pro 2 is really a question about how you want to practise: simple repeated feeds, or a more adaptable training setup.
Spinfire Pro 2 for Padel Drills
Worth considering if its strengths better match your needs.