Cycling to padel is brilliant when the club is local, parking is tight, or you just want to avoid carrying extra kit on public transport. A padel bag on bike trips can work safely, but only if the load is stable, clear of the wheels, and not fighting your balance every time you turn or brake.
The main aim is simple: keep the bag fixed to you or the bike in a way that cannot swing into the spokes, slide sideways, block your movement, or distract you in traffic.
At a glance
- The safest option is usually a compact backpack-style padel bag worn high and snug on your back.
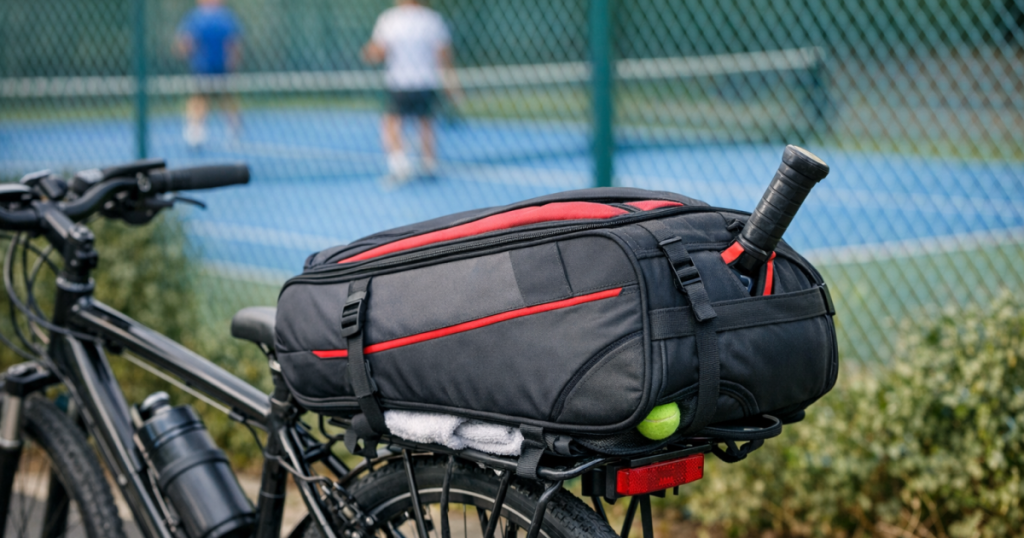
- If you use a rear rack, the bag must sit lengthways, be strapped in at two or more points, and stay clear of the rear wheel.
- Avoid hanging a racket bag from one shoulder, from the handlebars, or loosely from the side of the bike.
- Before riding to the club, do a short test ride, brake firmly in a safe place, and check nothing shifts.
- Pack light: racket, balls, water, towel and shoes if needed, not every item you own.
Step 1: Choose the safest carrying position
Start by deciding whether the bag is better on your body or on the bike. For most beginners riding a short distance to a local club, a backpack-style padel bag is the easiest and safest setup because it moves with you and does not need extra bike fittings.
Wear the straps evenly on both shoulders, tighten them so the bag sits high, and make sure the bottom of the bag does not rest on the saddle or catch the back of your helmet. If the bag has a chest strap, use it. If it only has one shoulder strap and swings around when you walk, it is not ideal for cycling.
A rear rack can work well if the bag is too bulky to wear, but only if you can secure it properly. The bag should sit on top of the rack, not droop down the side like an oversized pannier unless it is designed to do that. Side-hanging bags can catch the wheel, interfere with pedalling, or make the bike pull to one side.
Step 2: Pack the bag so it stays balanced
Before attaching anything, reduce the load. A racket bag that feels fine in your hand can feel awkward on a bike once it starts shifting under braking or leaning through corners.
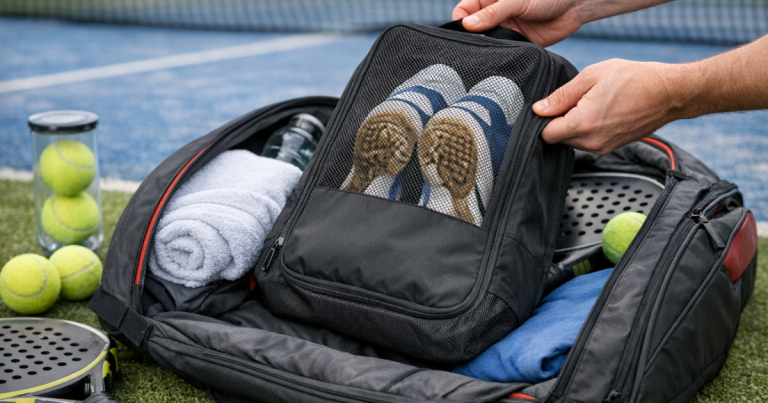
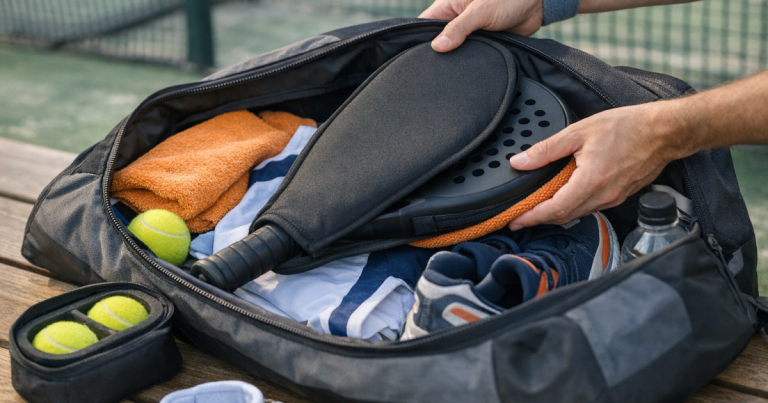
Put the heaviest items closest to your back if wearing the bag, or closest to the centre of the rack if mounting it. Shoes, water bottles and spare clothes should not all sit at one end. Keep the racket in its proper compartment if your bag has one, and zip everything fully closed.
If you are heading straight into a social match, pack only what you will actually use. A racket, tube of balls, water, small towel, overgrip, phone and keys may be enough for many club sessions. For match prep once you arrive, this short guide on warming up before a social padel match is a useful next step.
Step 3: Keep straps away from wheels, chain and brakes
Loose straps are the biggest problem when carrying padel kit by bike. They can flap into the rear wheel, snag near the chain, or distract you while riding. Before you set off, pull every strap tight and tuck spare lengths into a pocket or under a fixed part of the bag.
If your bag has long shoulder straps and you are mounting it to a rear rack, do not leave them dangling. Clip them together if possible, fold them flat, and secure them under the main luggage straps. Give each loose end a firm pull to check it cannot work itself free.
Elastic bungee cords can be convenient, but they are not the best choice on their own because they can stretch, slip and allow the bag to bounce. If you use them, combine them with wider, non-elastic luggage straps so the bag is held down and held sideways. Thin cord, string or a single weak hook is not enough for a racket bag.
Step 4: Attach the bag to a rear rack properly
If you are using a rear rack, place the bag lengthways along the top of the rack, with the racket end pointing forwards or backwards rather than sticking out sideways. The aim is to keep the width of the bike predictable when passing parked cars, bollards, gates or other riders.
Use at least two secure contact points. One strap should stop the bag lifting or bouncing; another should stop it sliding side to side. If the bag is long, add a third strap around the far end so it cannot swing when you turn. After tightening, push the bag from the left, right, front and back. It should move with the bike, not separately from it.
Check the rear wheel clearance carefully. Spin the wheel by hand and look from both sides. Nothing should touch the tyre, spokes, mudguard, brake area or chain. Then sit on the bike, because your weight can lower the frame slightly and change the clearance.
Step 5: Avoid the risky shortcuts
Some carrying methods seem fine for a two-minute ride but become awkward as soon as you need to brake, signal or avoid a pothole. These are the ones to avoid:
- Do not hang the bag from the handlebars. It can affect steering and may swing into the front wheel.
- Do not ride with a single-strap racket bag loose over one shoulder. It can slide forwards when braking.
- Do not wedge the bag under one arm. You need both hands available for steering and braking.
- Do not let the racket handle, shoe compartment or bottle pocket stick out into traffic.
- Do not rely on one strap if the bag is heavy or the route is bumpy.
If your current bag is awkward to carry by bike, it may simply be the wrong shape for cycling. Backpack-style bags and compact racket backpacks tend to behave better than large tour-style bags. For a beginner-friendly look at bag formats, see this comparison of an Adidas padel gear bag and a Wilson padel racket backpack.
Step 6: Test the setup before riding to the club
Do not make your first test ride the journey to an evening match. Pack the bag as you normally would, attach it, and ride a short loop somewhere quiet. Include a few gentle turns, a controlled stop, and a small bump if safe to do so.
After the test, stop and inspect the setup. Has the bag shifted? Are the straps still tight? Is anything rubbing? Did the bike feel heavier at the back or slower to steer? Small problems in a quiet street become bigger problems when you are tired, in the rain, or riding near traffic.
If wearing the bag, check comfort too. Shoulder pressure, neck rubbing and a bag tapping the back of your helmet are signs that the load needs adjusting. Tighten the straps, repack the weight, or switch to a rack-mounted setup if the bag is too bulky.
Step 7: Ride with the extra load in mind
A loaded bike behaves differently. Give yourself more time to brake, slow down earlier for corners, and avoid sudden swerves. Keep both hands available and signal clearly. If the route includes narrow barriers, busy shared paths or steep hills, consider whether a lighter packing list would make the journey easier.
Weather matters in Great Britain, too. In wet conditions, allow more braking distance and avoid packing loose clothing on the outside of the bag where it can soak up water and add weight. If riding after dark, make sure the bag does not cover your rear light or reflectors.
When you arrive, take a moment to check the racket compartment before going on court. A properly attached bag should protect your kit from bouncing and scuffing, but it is still worth checking that the racket has not shifted against shoes, keys or a metal bottle.
Step 8: Deal with sweat and damp kit after the ride
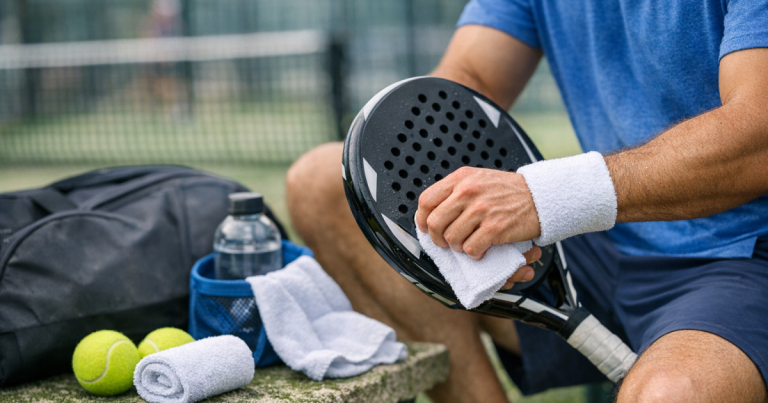
Cycling to a padel session often means your kit is warm before you even start playing. After the match, avoid leaving sweaty clothes, damp shoes and used grips sealed inside the bag all evening. Open the bag when you get home, remove wet items, and let the compartments air properly.
This matters even more if you carry the same bag on your back, because sweat from the ride can build up on the straps and back panel. For simple habits that keep your kit fresher between sessions, read how to stop your padel bag smelling between matches.
Quick pre-ride checklist
- Bag is worn with both shoulder straps or fixed securely to a rear rack.
- No straps, cords or loose fabric can reach the wheels, chain or brakes.
- The load feels balanced and does not pull the bike to one side.
- The bag does not block lights, reflectors or your ability to signal.
- Racket is zipped inside the bag, not sticking out loosely.
- You have done a short test ride and checked the straps afterwards.
- You can brake, steer and look over your shoulder comfortably.
Helpful questions
Can I cycle with a normal padel racket bag?
Yes, if it sits securely and does not swing. Backpack-style bags are usually easier than single-strap bags. Large tour bags can be awkward unless mounted firmly on a rear rack.
Is it safe to put a padel bag on the handlebars?
No. A bag on the handlebars can affect steering and may swing into the front wheel. Use your back or a properly fitted rear rack instead.
Should the racket face forwards or backwards on a bike rack?
Either can work, but the bag should sit lengthways with no side overhang that could clip obstacles. The key test is whether it stays stable when you push it from every direction.
Can I use bungee cords to hold the bag?
Bungee cords are better as backup than the main fixing. Use wider straps that stop both bouncing and sideways movement, then tidy away every loose end.
What if my bag still wobbles after strapping it down?
Do not ride with it like that. Repack the weight, add another secure strap, or carry less kit. If it still moves, wear the bag or use a different bag shape for cycling.
Main lessons
The safest way to carry padel kit by bike is the method that keeps the bag predictable. For many beginners, that means a snug backpack-style padel bag for short rides. For bigger bags, a rear rack can work, but only with firm straps, balanced packing and careful wheel clearance.
Before riding to a match, think less about convenience and more about movement: will the bag swing, bounce, rub, block your light or affect your braking? If the answer is no after a short test ride, you are in a much better position to cycle to padel confidently and arrive ready to play.