A loose, shiny or slippery handle can make even simple padel shots feel rushed, but once you know how to replace a padel overgrip neatly, you can refresh your racket in a few minutes without using half the finishing tape. The main difference between a tidy job and a wasteful one is planning the angle before you start wrapping.
For early club play, this is one of the easiest maintenance habits to build. You do not need a workshop, special tools or a perfect technique; you just need a clean handle, the right starting point and a calm wrap.
The quick method
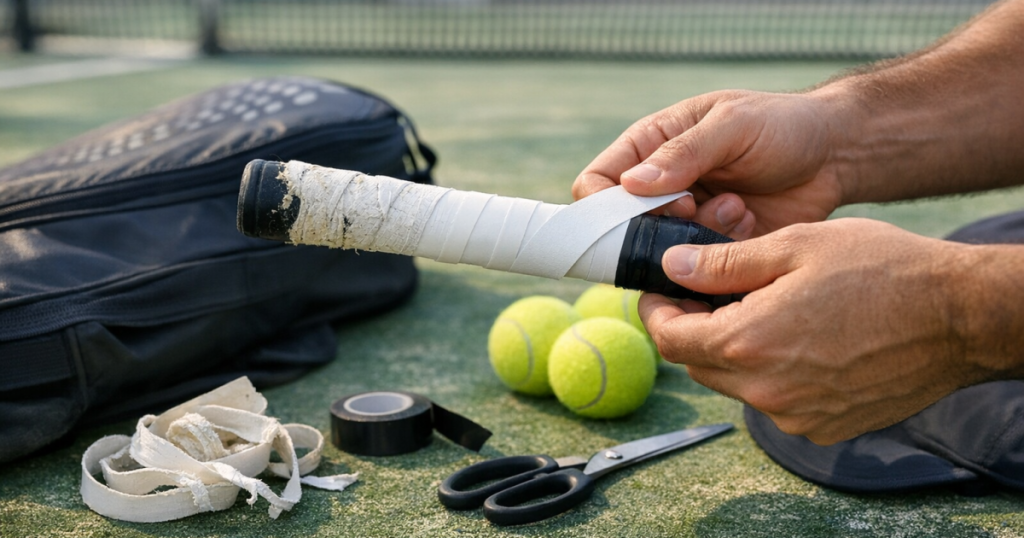
Here is the simple version: remove the old finishing tape, unwind the worn overgrip, start the new one at the butt cap, wrap upwards with a small overlap, trim only if needed, then secure the top with a short strip of finishing tape. Most wasted tape comes from wrapping too loosely, starting at the wrong angle, or trying to fix a messy top edge after the grip has already crept too high.
- Use the tapered end of the overgrip at the bottom of the handle.
- Keep steady tension, but do not pull so hard that the grip becomes thin and uncomfortable.
- Overlap each turn by a few millimetres, not half the width of the grip.
- Stop before the grip reaches the throat of the racket.
- Use only enough finishing tape to go around the handle once with a small overlap.
If you are still working out which grip feel suits you, the Head Padel Grips review is a useful next read because it explains why sweat, tackiness and comfort matter more than many beginners realise.
What you need before you start
Set everything out before peeling anything open. You need one fresh padel overgrip, the small piece of finishing tape that comes with it, and a bin nearby for the old grip and backing film. A pair of scissors can help if the top edge needs trimming, but try to avoid cutting until you have wrapped the handle and checked the finish.
Make sure you are replacing the overgrip, not the base grip. The base grip is the thicker layer fitted directly to the racket handle. The overgrip is the thinner outer layer you touch when you play. Most beginners only need to replace the overgrip during normal club play unless the base grip is damaged, compressed or uncomfortable.
It also helps to do this at home before you leave for the club, rather than five minutes before a match. Rushing is when people stretch the tape too much, wrap over wrinkles, or use several strips to hold down a poor finish.
Step 1: Remove the old overgrip cleanly
Start at the top of the handle where the finishing tape sits. Peel the tape slowly instead of ripping it sideways, as old adhesive can leave sticky patches on the grip underneath. Once the tape is free, unwind the overgrip in the opposite direction to how it was wrapped.
If the old overgrip tears, do not worry. Pull away the pieces by hand and check that no small strips remain stuck around the bevels of the handle. Lumps under a new grip are easy to feel during volleys and serves, so it is worth taking an extra minute here.
When the old grip is off, look at the base grip. If it is dry, flat and clean, you can wrap straight over it. If it is peeling badly or leaving residue on your hand, that is a separate job and may need a replacement base grip rather than just another overgrip.
Step 2: Find the tapered end and start at the butt cap
Most overgrips have one end that is narrower or pre-cut at an angle. That end is designed to start at the bottom of the handle near the butt cap. Peel away a small amount of the backing film, if there is one, and place the tapered end against the lower edge of the handle.
For a right-handed player, many people wrap anti-clockwise when looking at the bottom of the handle; for a left-handed player, the opposite direction can feel more natural. This is not a strict rule. The important thing is that the wrap lies flat when your hitting hand closes around it.
Hold the starting end with your thumb and make the first turn around the butt cap area. This first lap anchors the grip. If it starts crooked, the whole wrap will climb too quickly or bunch at one side, which is exactly when you end up wasting finishing tape later.
Step 3: Wrap with a small, consistent overlap
Work slowly up the handle, turning the racket rather than pulling the grip around with big arm movements. Aim for a small overlap on each turn, roughly 2–3 mm. That is usually enough to avoid gaps without building a bulky spiral.
Keep light, steady tension on the overgrip. Too little tension causes wrinkles and movement; too much tension can make the grip feel thin and harsh. A good test is whether the surface lies flat without looking stretched out of shape.
Watch the spacing as you pass each bevel of the handle. Padel handles are short compared with many tennis handles, so over-wrapping by too much can leave you with excess material at the top. That is not a disaster, but it often leads to messy trimming and extra tape.
Step 4: Stop before the top gets messy
As you approach the top of the handle, slow down. The neatest finish usually comes from stopping while the overgrip is still on the straight part of the handle, not pushing it up into the throat of the racket. If you are unsure, hold the racket normally and check where your top fingers sit. There is no point wrapping much higher than your hand actually reaches.
If the grip ends with a tapered finish, line it up so the edge sits flat around the handle. If it ends square and you have too much material, trim a small angled piece from the end. Cut less than you think you need at first. You can always tidy it further, but you cannot put material back once it is cut.
This is the moment that saves the tape. A clean angled end only needs one short piece of finishing tape. A thick folded lump usually needs more tape, still looks untidy, and may start lifting during a warm club session.
Step 5: Use the finishing tape sparingly
Finishing tape is there to secure the final edge, not to rescue the entire wrap. Place one end of the tape over the final overgrip edge and wrap it around the handle once. A small overlap at the end is enough. Press it down firmly with your thumb for a few seconds so it bonds evenly.
Avoid stretching finishing tape hard as you apply it. If it is pulled too tight, it can curl back or create a ridge you feel under your fingers. If the tape does not reach all the way round, the overgrip probably finished too high or too bulky; it is better to rewrap once than keep adding extra strips.
Some players also use a slim elastic finishing band, but beginners do not need to complicate the job. The tape supplied with the overgrip is normally enough when the wrap underneath is tidy.
Common mistakes that waste tape
Starting too far above the butt cap
If you leave a gap at the bottom, you may try to cover it later or re-secure the first lap with extra tape. Start low and let the butt cap help anchor the grip.
Using too much overlap
A big overlap feels secure at first, but it uses the overgrip quickly and creates a thick handle. On a short padel handle, that can leave an awkward final section at the top.
Wrapping over creases
Small creases become noticeable once you grip firmly during volleys, bandejas and returns. If you spot a wrinkle early, unwind two turns and correct it rather than pressing on.
Trying to finish too high
Your overgrip should cover the usable handle, not climb up the racket. Finishing too high often means the final edge sits on a curved area where tape struggles to hold.
How often should beginners change an overgrip?
There is no fixed rule because it depends on sweat, session length, storage and personal feel. For many early club players, the obvious signs are enough: the grip looks shiny, feels slippery, smells stale, or moves slightly under the hand.
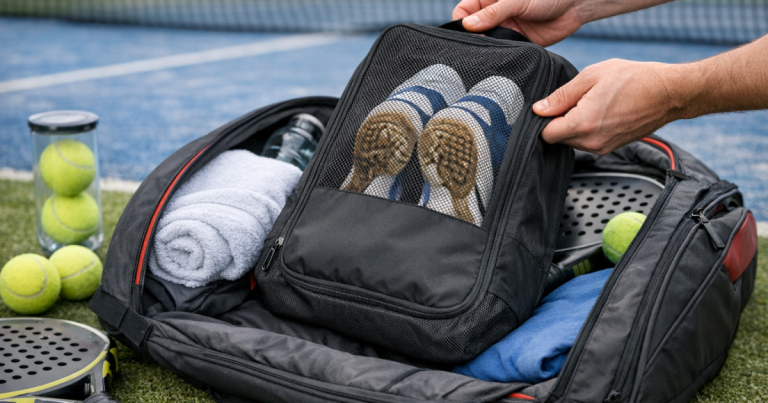
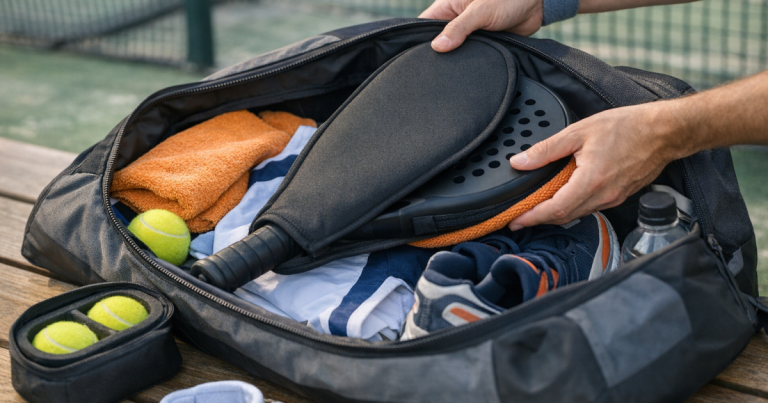
If you play once a week, you might get several sessions from one overgrip. If you play more often, or your hands sweat heavily, you may prefer changing it sooner. Keep one spare overgrip in your padel bag so you are not forced to play with a handle you no longer trust. For a broader first-session packing list, use the padel gear checklist for your first club session.
A simple pre-match grip check
Before you leave for a match, run through this quick check:
- Does the handle feel secure when you shadow a forehand and backhand?
- Can you feel any raised tape edge under your top hand?
- Is the bottom of the grip firmly anchored at the butt cap?
- Does the finishing tape sit flat all the way round?
- Is there a spare overgrip in your bag in case the current one fails?
This takes less than a minute and can save a lot of irritation during a busy club session. It is also a good habit if you are starting to play more Americano events, leagues or after-work matches where there is less time to fiddle with kit between games.
Helpful questions
Can I reuse the old finishing tape?
You can, but it is rarely worth it. Old finishing tape often loses stickiness, curls at the edge, or brings fibres from the old overgrip with it. A neat wrap should only need the fresh tape supplied with the new overgrip.
Should I remove the plastic film from the new overgrip?
Yes, if the overgrip has a protective backing or surface film, remove it as you wrap. Leaving film on the grip can make the handle feel slippery and prevent the material from sitting properly.
What if the overgrip is too long for my racket handle?
Use a slightly smaller overlap next time, or trim the final end at an angle before applying finishing tape. Do not keep wrapping up into the racket throat just to use all the material.
Is a thicker overgrip better for beginners?
Not automatically. A thicker feel can be comfortable, but too much bulk makes it harder to change grip quickly. If your hand feels slow or cramped, try a cleaner wrap before adding extra layers.
Can I put a new overgrip over an old one?
You can in a pinch, but it usually makes the handle bulky and less defined. For regular play, remove the old overgrip first so the new one sits flat on the handle.
The big picture
Replacing an overgrip is a small job, but it has a direct effect on confidence. A clean handle helps you relax your hand, commit to volleys and avoid squeezing the racket too tightly when the rally speeds up.
The best way to avoid wasting tape is to make the wrap itself tidy: start low, keep the overlap modest, finish on the straight part of the handle and use the finishing tape only to secure the final edge. If you are building your padel kit gradually and want to avoid buying things twice, the advice on starting padel without wasting money fits neatly with this kind of simple maintenance habit.